
On March 1st 2020, Mailgun will be phasing out their free tier. I’m a happy paying Mailgun customer. How is this going to affect me? Well, over the last several years I created a number of separate free Mailgun accounts for various hosting customers. All these free accounts have my credit card details on file and will soon charge me.
Rather then manage a bunch of separate accounts, I’m consolidating to a single paid Mailgun account.
A single account is far cheaper then over 10 separate accounts. Not to mention way easier to manage. If you’re like me and want to do the same, then here are a few recommendations.
Delete, recreate and revalidate Mailgun subdomains.
My first question was, can I push a Mailgun subdomain between accounts? I can’t. Also, I can’t add a subdomain to a Mailgun account when it’s still active in another. It’s best just to delete the subdomain within the free Mailgun account and then switchover to the paid Mailgun account and recreate it.
Step #1: Deleting the free Mailgun account
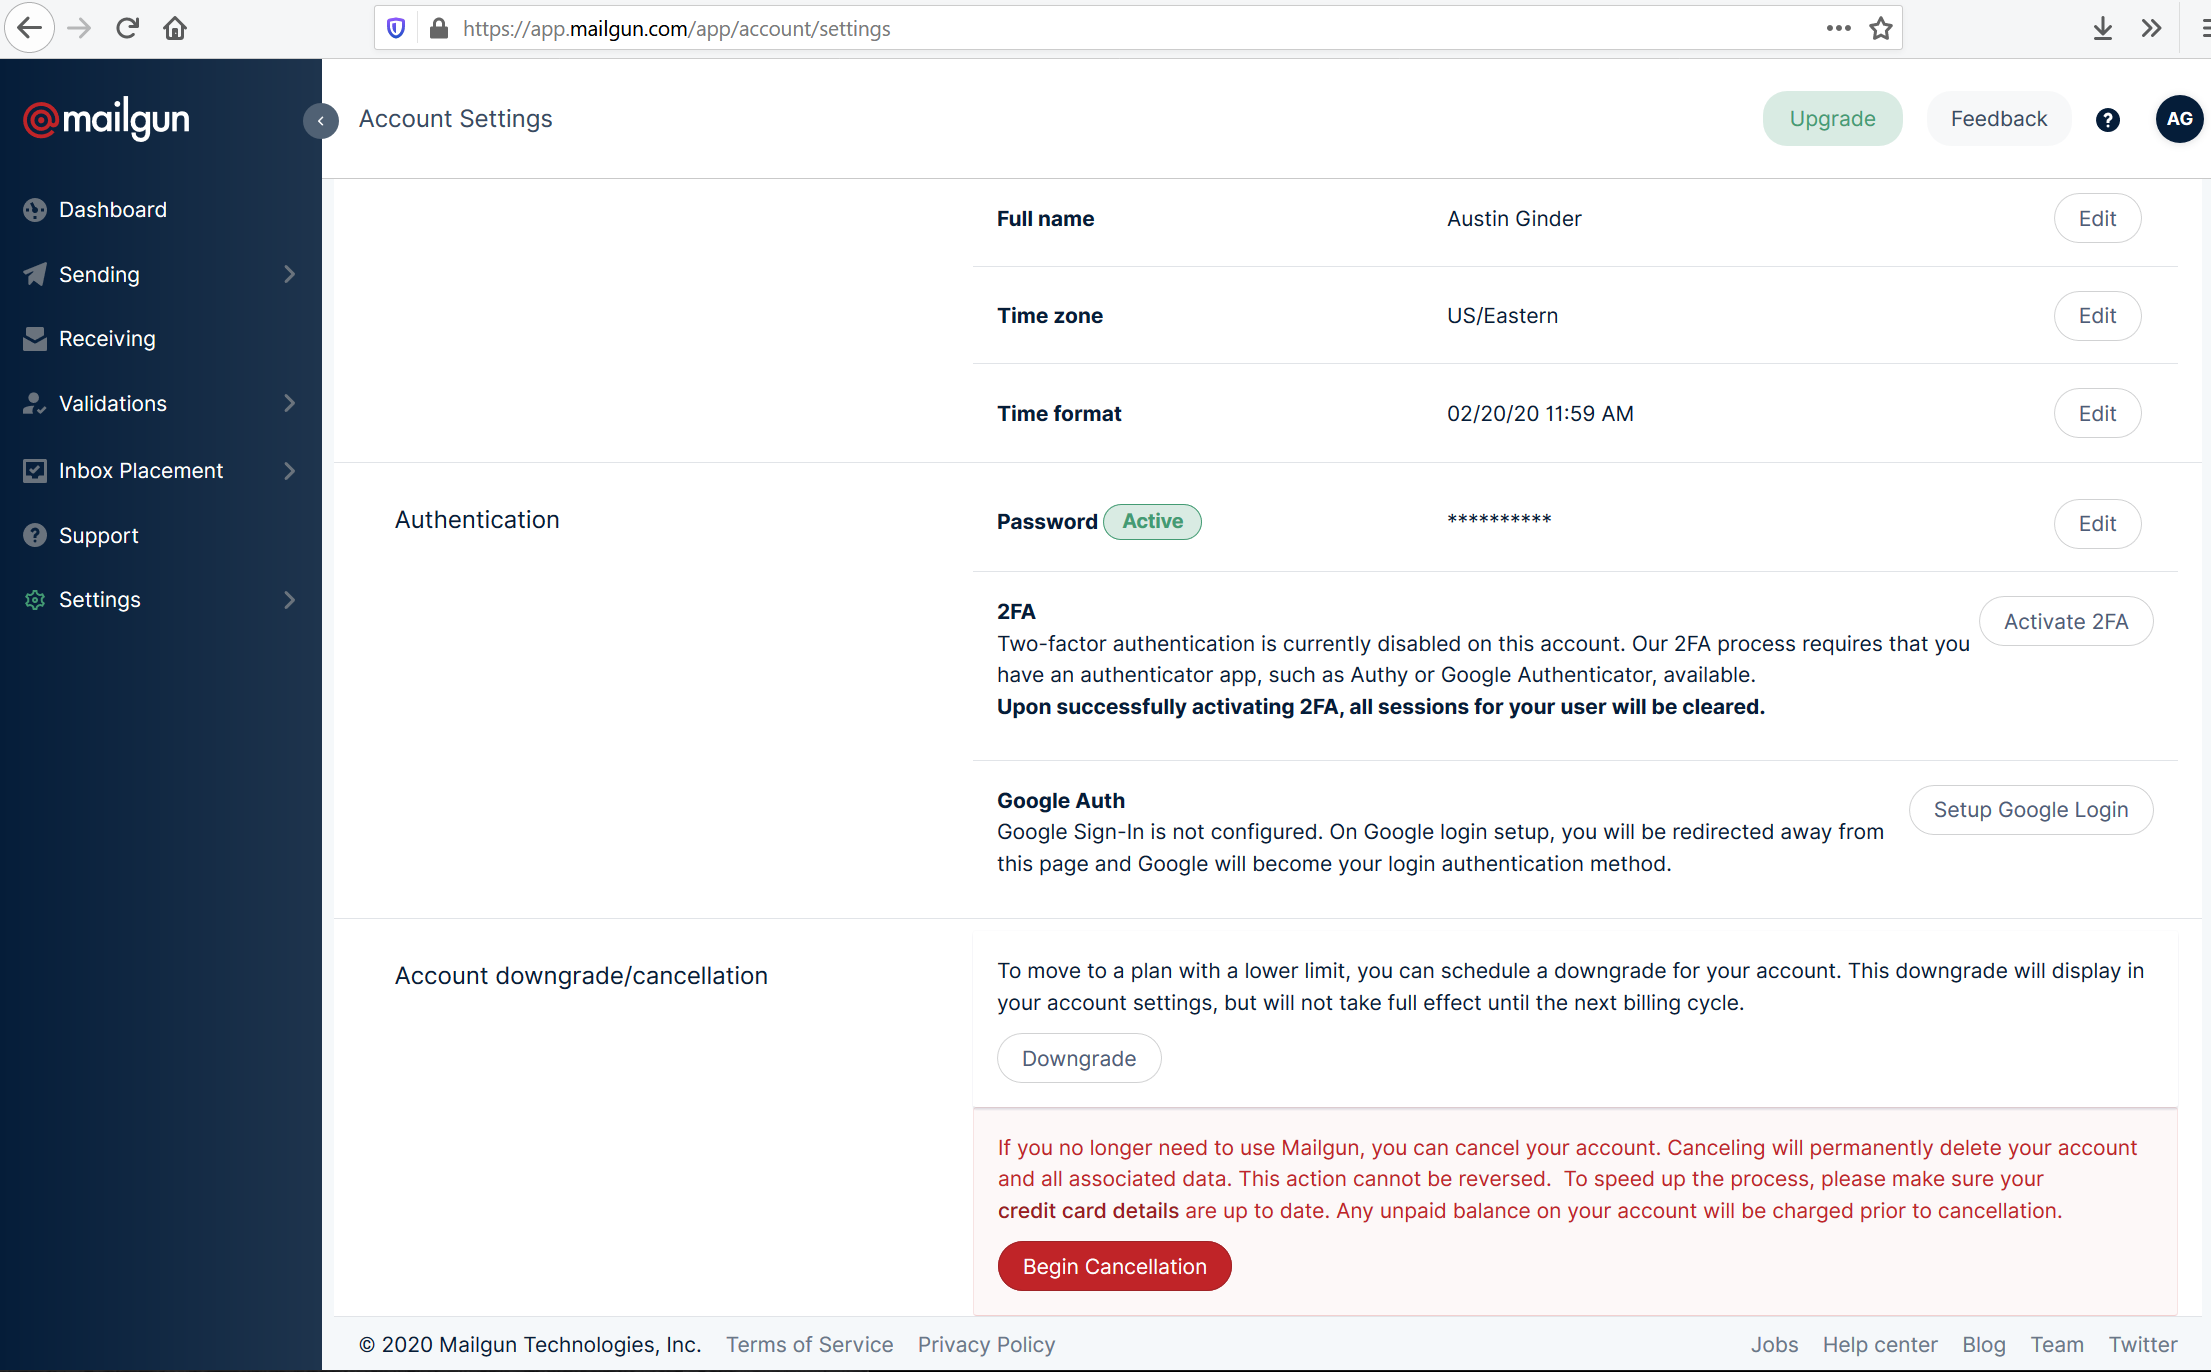
This is pretty straightforward. Simply login to Mailgun and select Settings. At the very bottom select “Begin Cancellation”.
You’ll need to give it a reason. I like the “I already have another Mailgun account” and then mention “Consolidating to a Paid Mailgun account”.
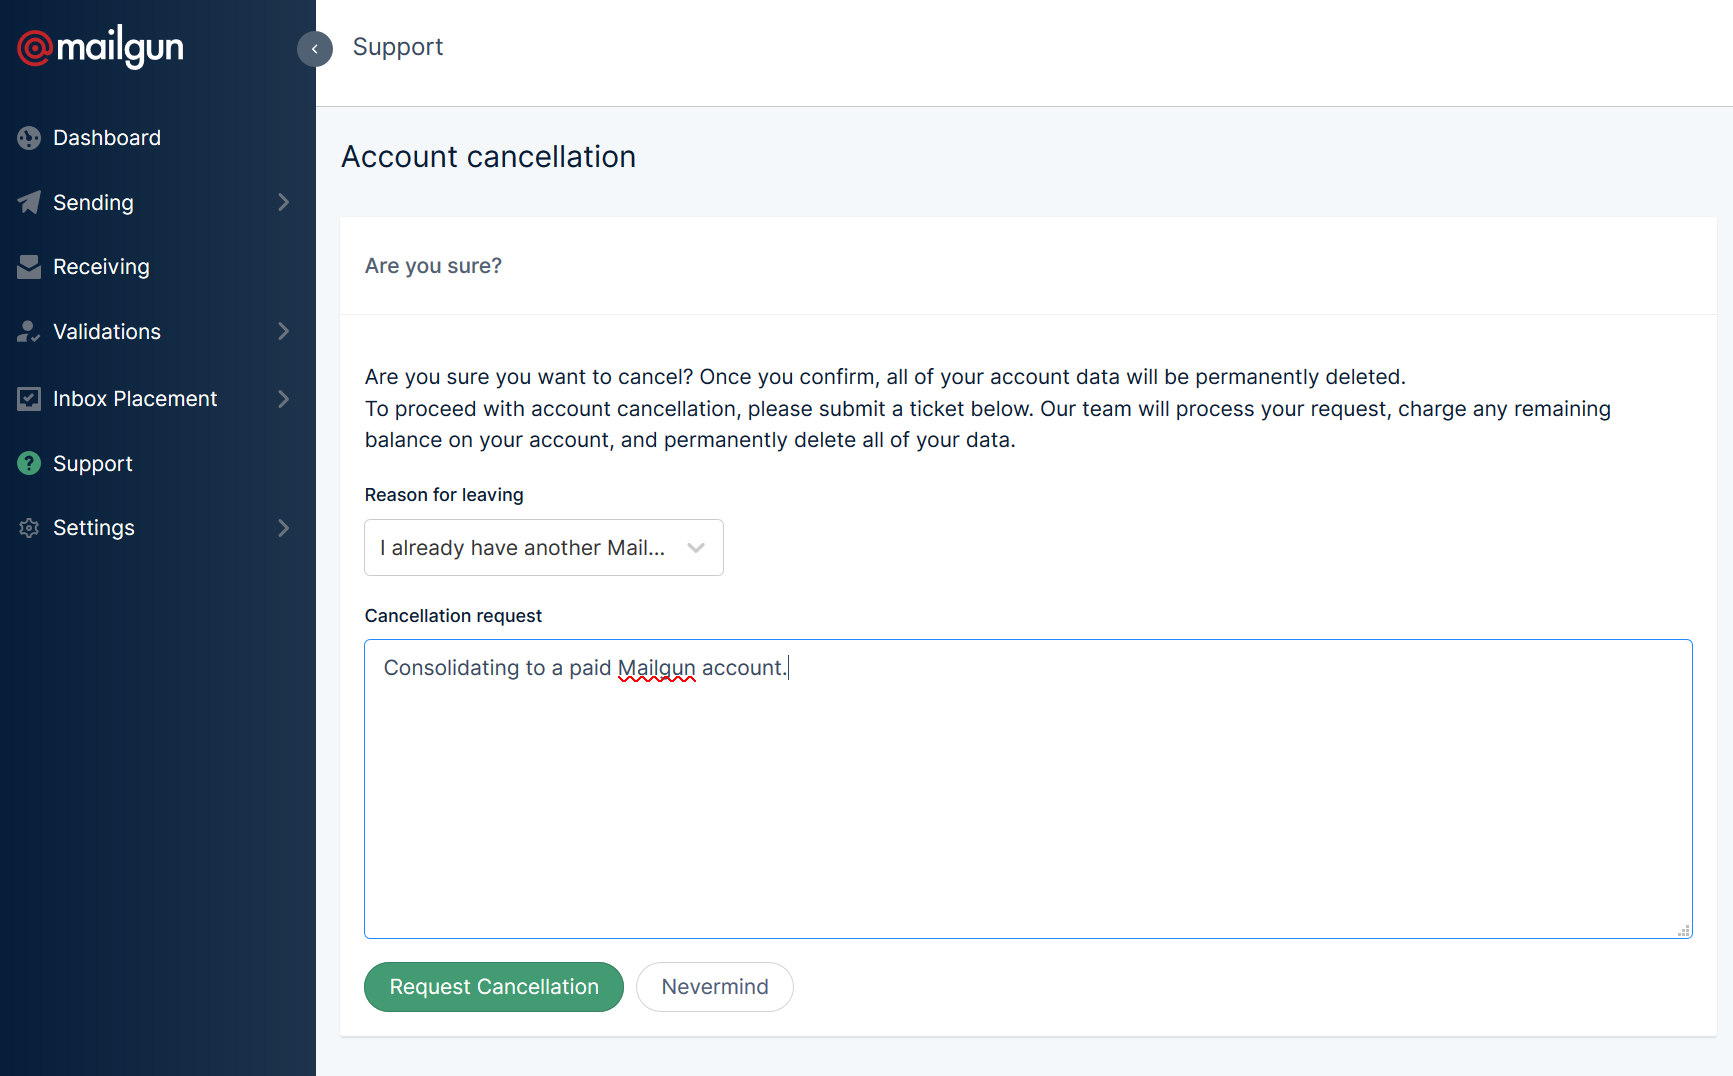
This will immediately sign you out and delete the account. The log history will be lost, however there is no way to retain that other then using the API to extract information.
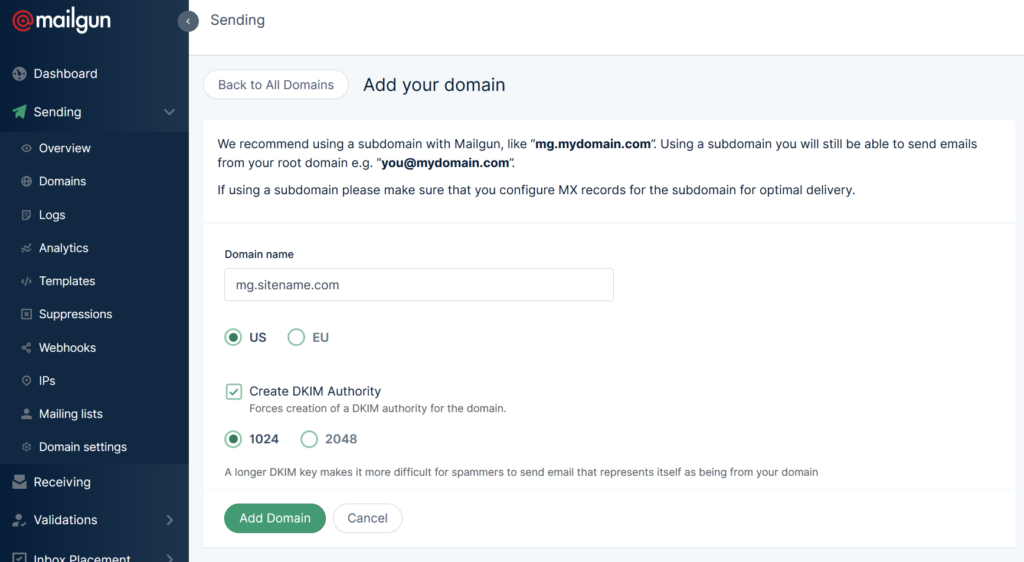
Step #2: Recreate Mailgun subdomain
There isn’t a limit to the number of subdomains you can add to a Mailgun account. I recommend adding the same subdomain to your paid Mailgun account that was added in the free account. This will cut down the amount of DNS records required to re-validate.
Step #3: Re-validate Mailgun subdomain
Mailgun will generate a new TXT verification record. You’ll need to remove the old TXT record and add the new one, then verify the subdomain with Mailgun. This should only take a minute using a quality DNS provider.
Warning, do not use Mailgun’s API with a shared account.
The last step is to update the credentials used within Mailgun’s WordPress plugin. By default, Mailgun’s plugin uses an API to communicate with Mailgun. Do not use your API key on anyone else’s WordPress site. Mailgun’s API key is all access, and any WordPress administrator could extract this key and do some damage by querying Mailgun’s API directly. Instead, switch it to use SMTP which will isolate this WordPress site to only their Mailgun subdomain.
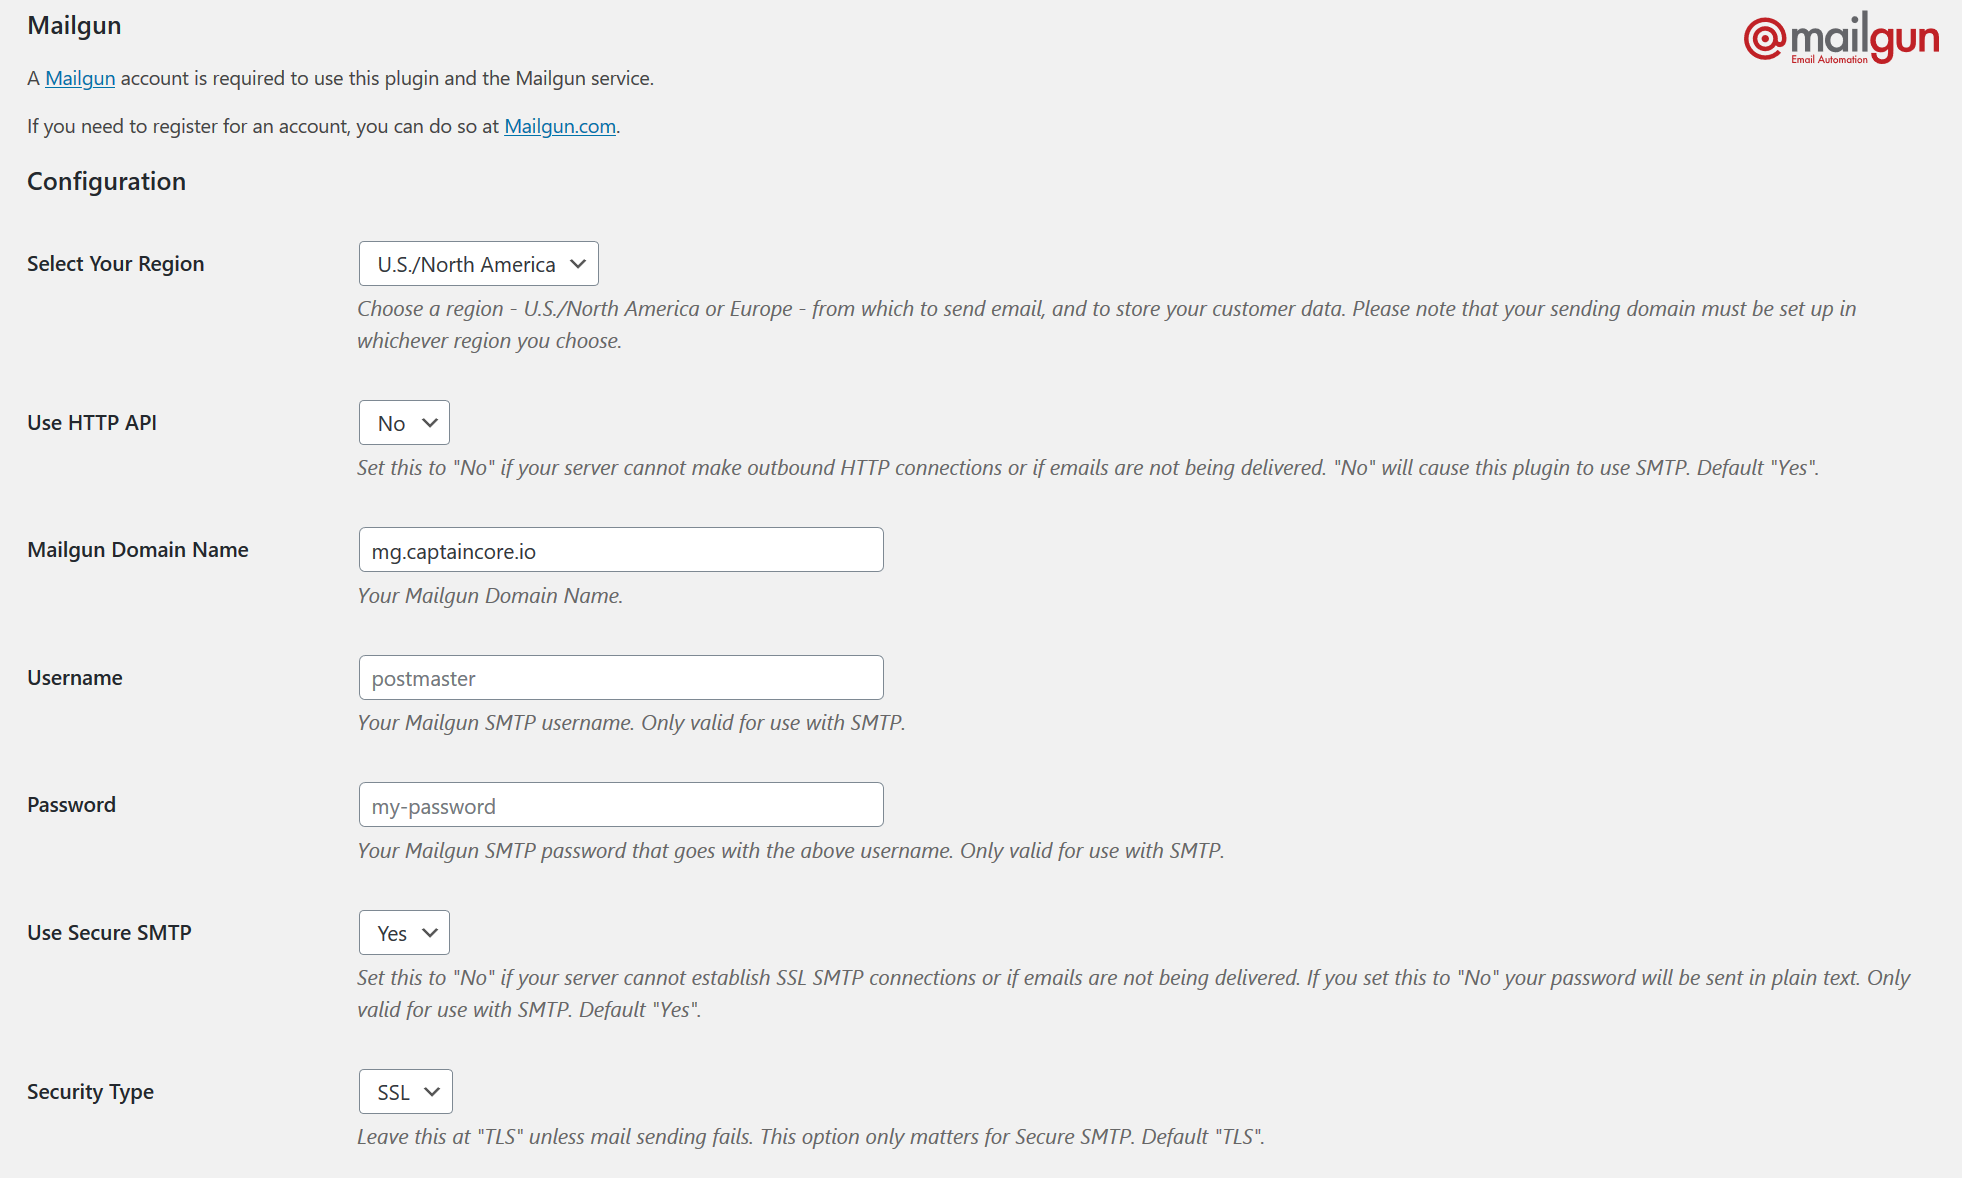
In Mailgun you can generate SMTP credentials under Sending > Domain Settings > SMTP credentials. With that, the switchover process is completed.