Have you ever configured a domain redirect to a specific page on a website? If so then you most likely had mess with an SSL in order to get the redirection working with HTTPS. Domain redirections can be handled by domain providers, DNS providers or web host providers. If you want the domain redirection with HTTPS, for example https://fancy-url.com to https://anchor.host/contact, then an SSL is required. This is best handled by a web host.
Quick look at Kinsta before digging into Netlify
Kinsta is my favorite WordPress web host. You can totally handle HTTPS domain redirections with them, and the process if fairly straightforward. First add new domain mappings, then point domain’s DNS to Kinsta’s site IP, then expand SSL to cover the new domain and lastly configure Force HTTPs rules to “Use requested domain”. So if that’s all it takes, why use Netlify? Well first of all, Kinsta has a limited number of free Let’s Encrypt SSLs you can add to a single site. It also seems silly to use a WordPress web host just for domain redirections. Especially if the domain redirect may not have anything to do with the WordPress site.
Netlify is a developer friendly, static site web host.
There are two big reasons why you might want to check out Netlify. They’re free to get started and super easy to use. In fact for hosting a static website you can simply drag and drop a folder of HTML files over to Netlify and attach a custom domain with full HTTPS support within minutes. It’s that easy. This makes them a perfect go to for handling HTTPS domain redirections.
Walkthrough using Netlify for HTTPS domain redirects
For the purpose of explanation I’ll be setting up the following granular domain redirections rules with Netlify. This should cover all of the common scenarios that you might run into.
- https://anchorhost.dev to https://anchor.host
- https://plans.anchorhost.dev to https://anchor.host/plans
- https://anchorhost.dev/hey to https://anchor.host/contact
Start by created a new folder anchorhost.dev/ on your computer with two files _redirects and index.html. The index.html can be blank since we won’t actually be hosting any website. Within _redirects add the following rules, which are processed by Netlify from the top down. The last rule works as a catch all and will pass over any request going to anchorhost.dev over to anchor.host. See here for Netify’s _redirects syntax for more details.
# Subdomain forward
http://plans.anchorhost.dev https://anchor.host/plans 301!
https://plans.anchorhost.dev https://anchor.host/plans 301!
# Subpage forward
http://anchorhost.dev/hey https://anchor.host/contact 301!
https://anchorhost.dev/hey https://anchor.host/contact 301!
# Primary domain forward
/ https://anchor.host 301!
# Catch all forwards
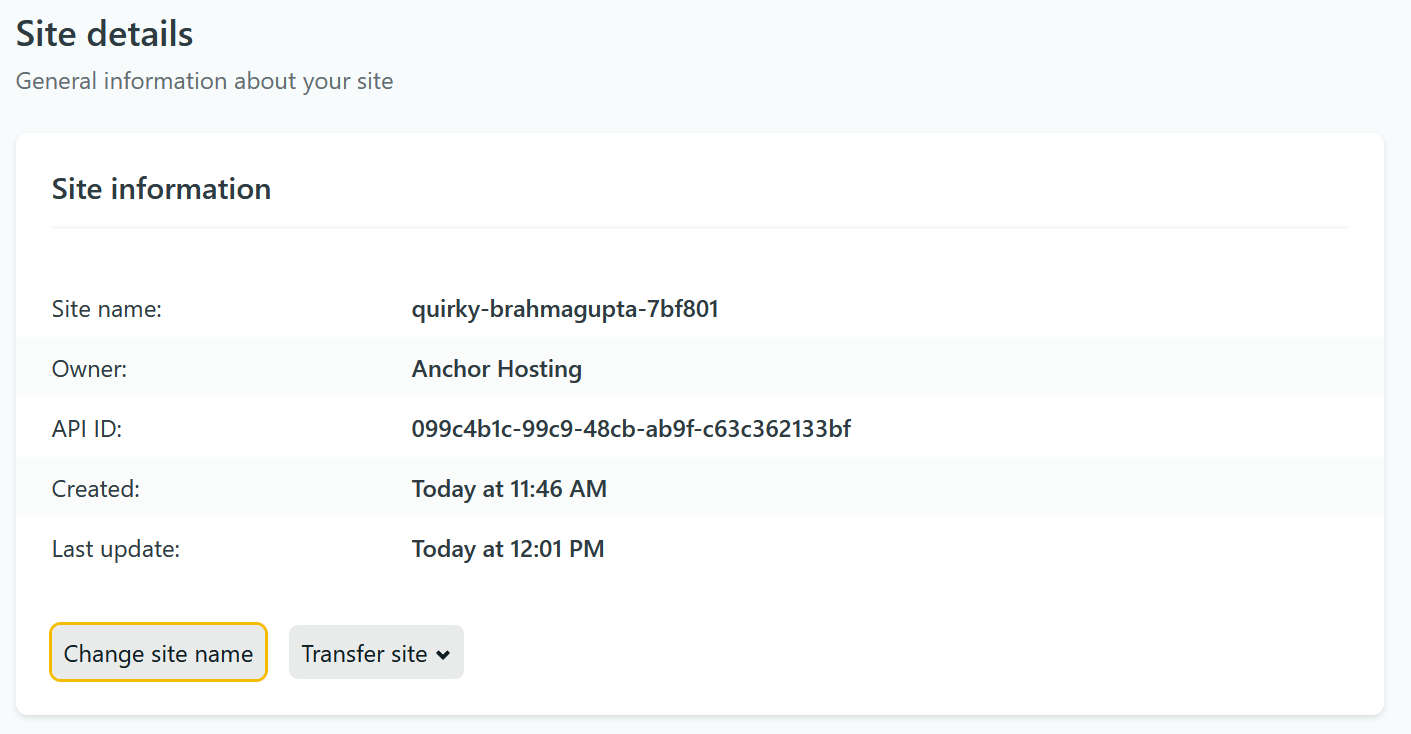
/* https://anchor.host/:splat 301!In Netlify select Sites then scroll to the bottom until you see the drag and drop section. Simply drag and drop the folder anchorhost.dev into here. This will create a new site using a Netlify generated name.

Optionally, rename the default Netlify app name to something more friendly to work with. This is helpful when adding DNS records.

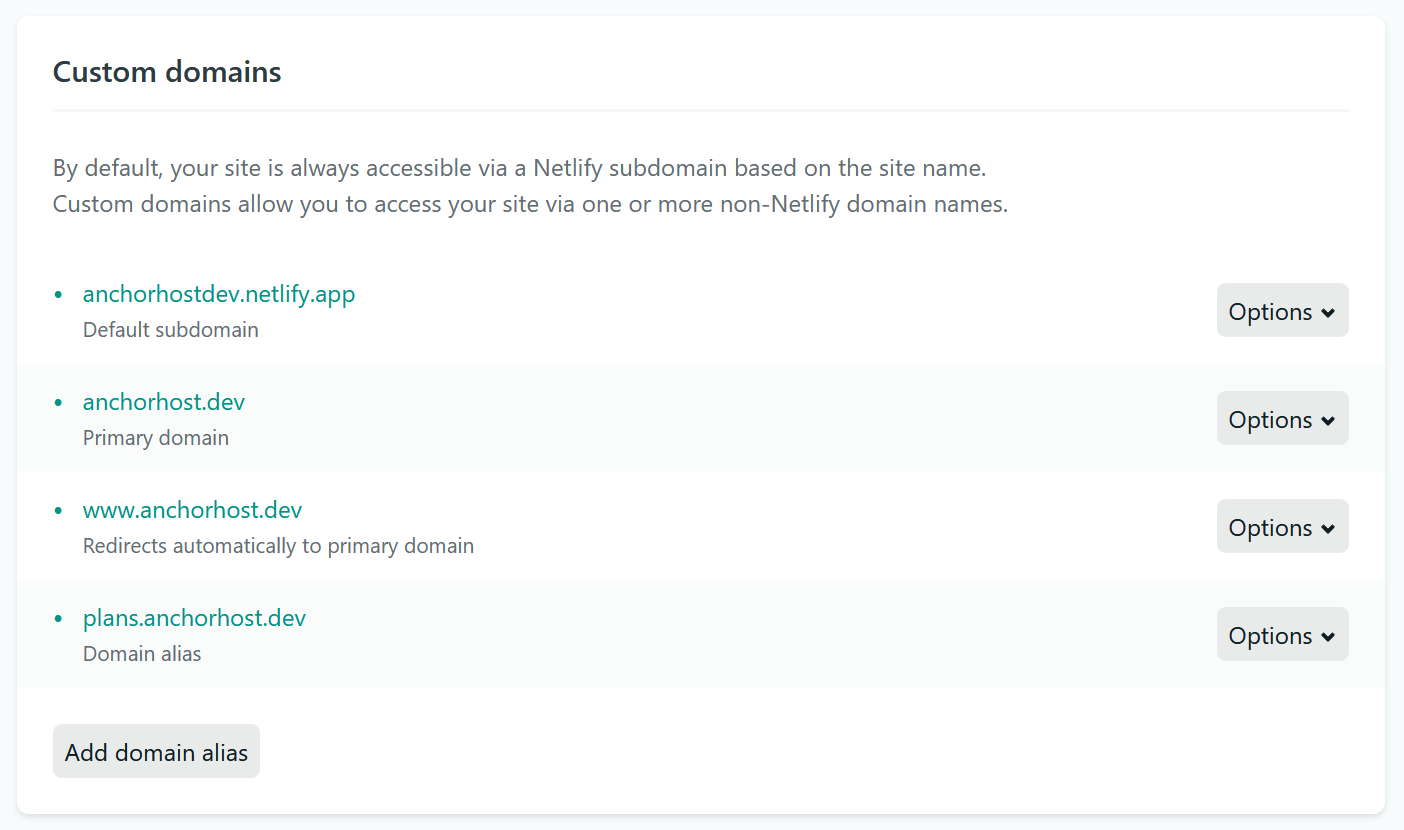
Next, add domain mappings to Netlify.
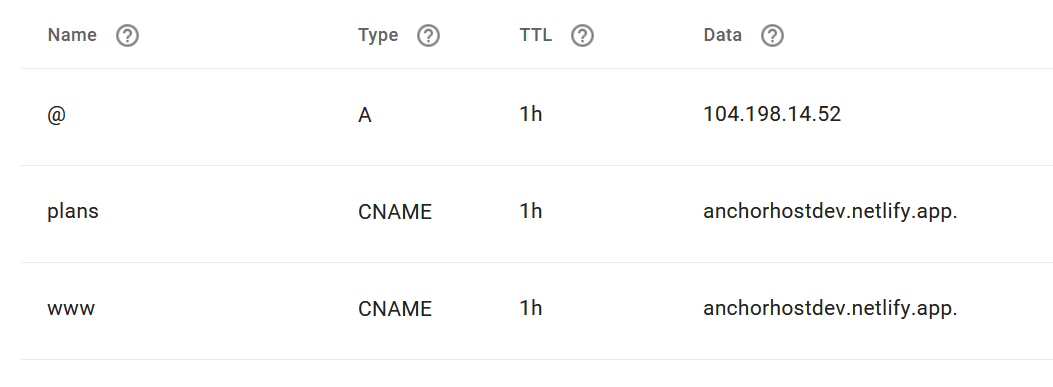
Next, point DNS over to Netlify.
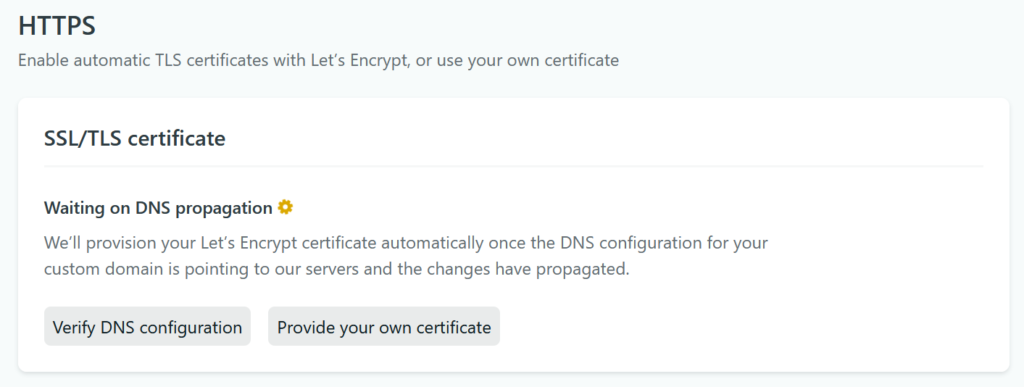
Wait for SSL to apply.
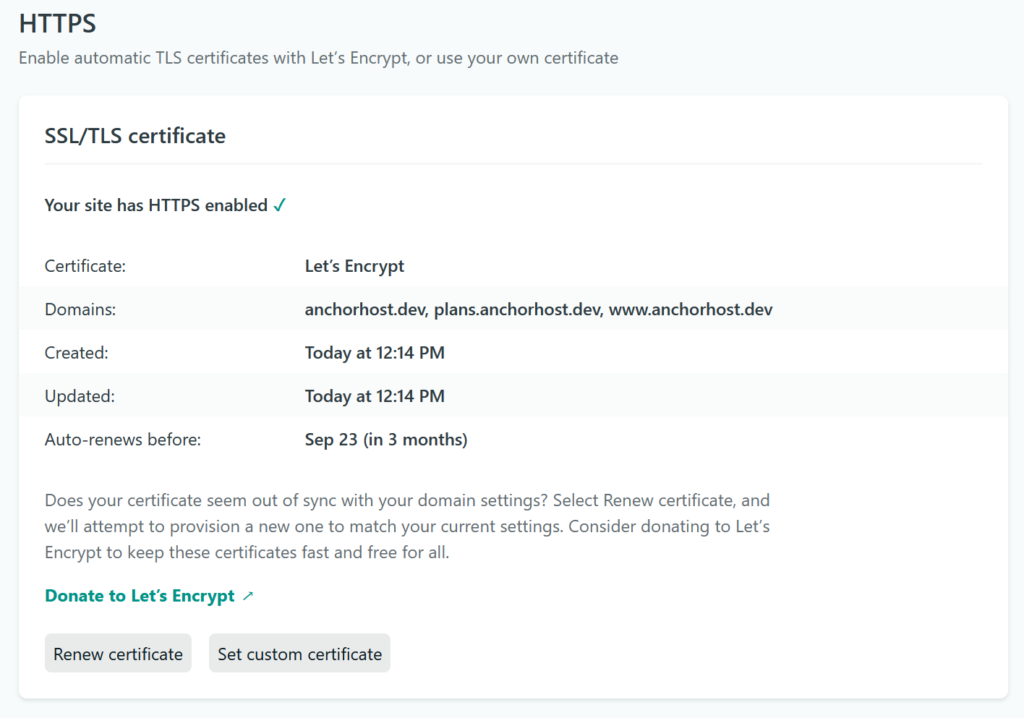
That’s it! You now have a new empty site with Netlify which will handle HTTPS domain redirections. 🥳
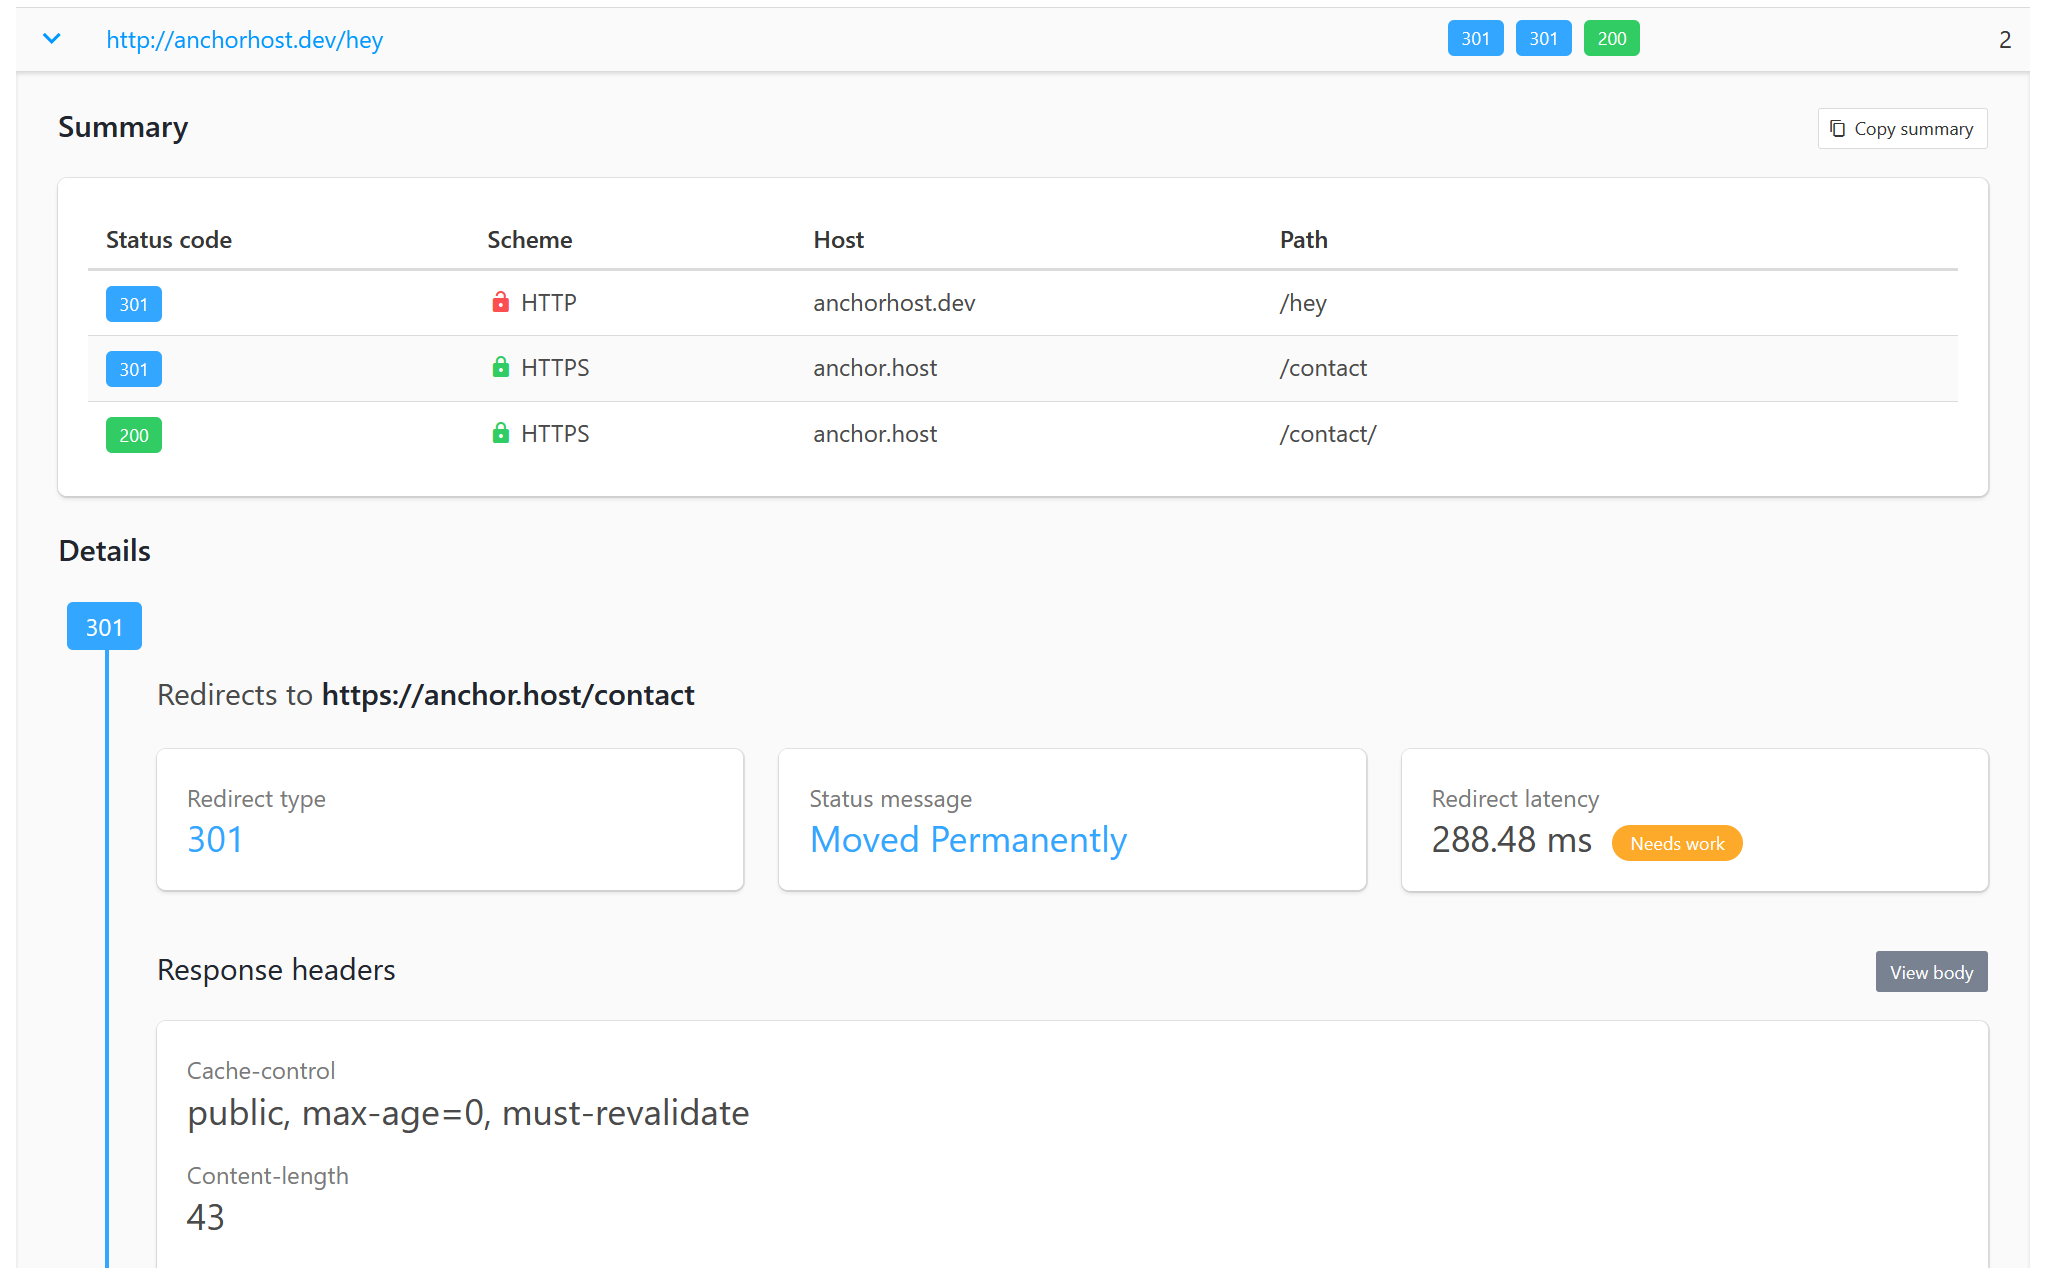
Testing redirections with httpstatus.io
I recommend trying out a bunch of URL variations to make sure everything is working. This can be easily handled in batch using https://httpstatus.io. Simply paste in a list of URLs to run the check. I’ll be checking the following.
https://anchorhost.dev
http://anchorhost.dev
https://plans.anchorhost.dev
http://plans.anchorhost.dev
https://anchorhost.dev/hey
http://anchorhost.dev/hey
http://anchorhost.dev/anything/
https://anchorhost.dev/anything2/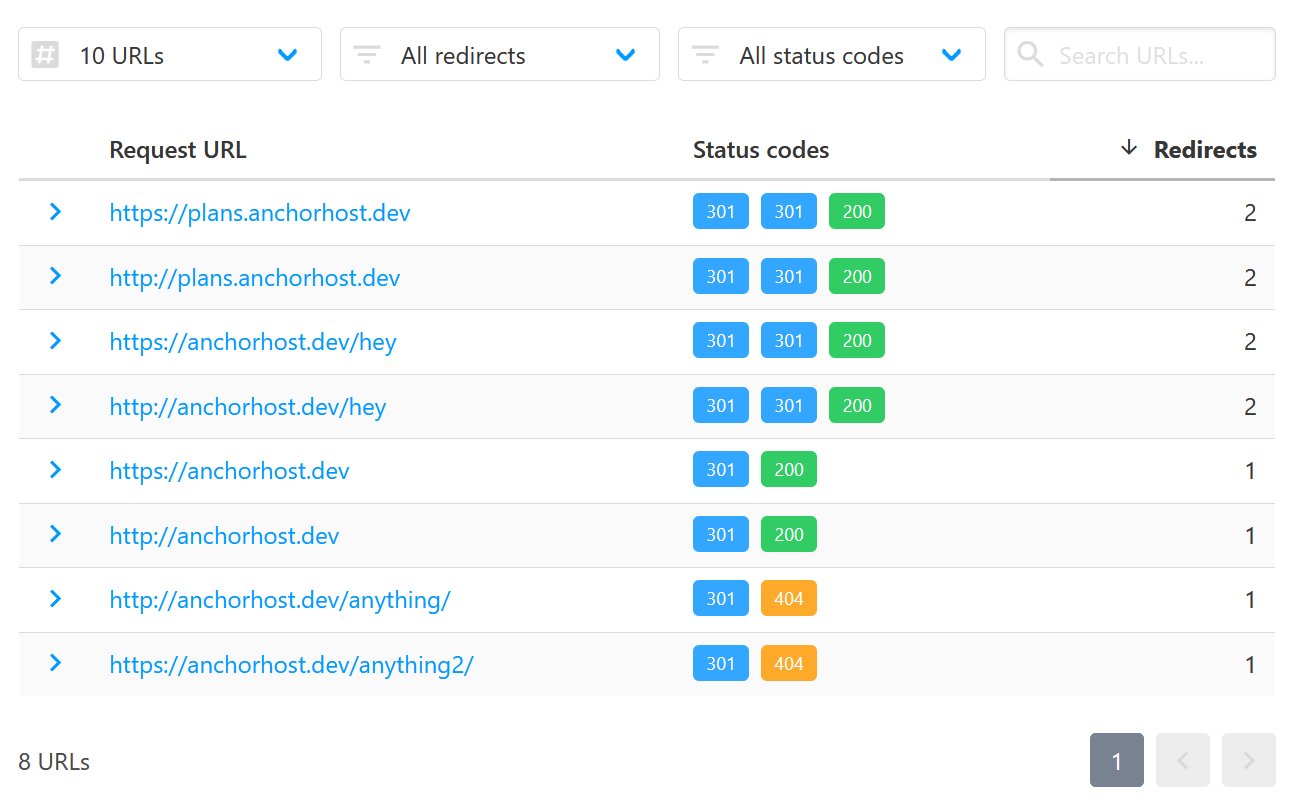
This is handy for debugging redirection issues. If you see double redirections you dig into the chain and figure out what is happening. Here I see that my website is adding a / to the end of the URL. I can fix this by adjusting my redirection rules and redeploying to Netlify.