- Download and install iTerm
- Open iTerm and install Homebrew
/usr/bin/ruby -e "$(curl -fsSL https://raw.githubusercontent.com/Homebrew/install/master/install)"
brew update
brew doctor
brew install wget mariadb git mutt
- Install Composer
php -r "copy('https://getcomposer.org/installer', 'composer-setup.php');" php -r "if (hash_file('SHA384', 'composer-setup.php') === '544e09ee996cdf60ece3804abc52599c22b1f40f4323403c44d44fdfdd586475ca9813a858088ffbc1f233e9b180f061') { echo 'Installer verified'; } else { echo 'Installer corrupt'; unlink('composer-setup.php'); } echo PHP_EOL;" php composer-setup.php php -r "unlink('composer-setup.php');"
mv composer.phar /usr/local/bin/composer echo 'export PATH="$PATH:$HOME/.composer/vendor/bin"' >> ~/.bash_profile
source ~/.bash_profile
composer global require laravel/valet
valet install
mkdir ~/Sites && cd ~/Sites
mkdir wordpress && cd wordpress
valet secure

MacOS WordPress Local Development Setup with HTTPS from scratch
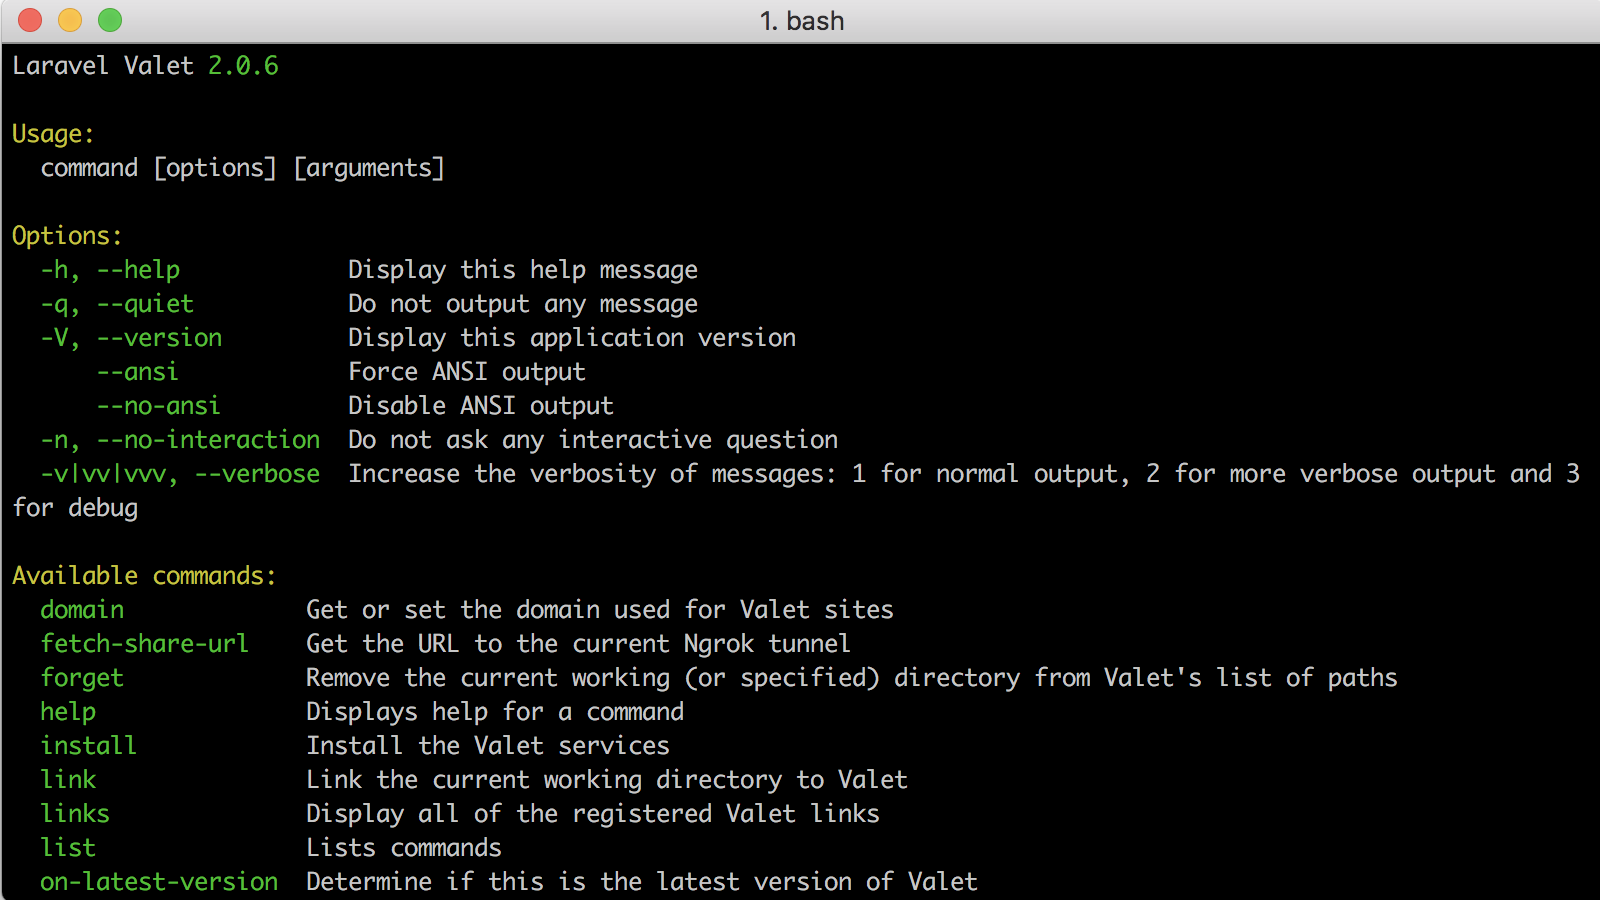
My local WordPress development setup has been greatly simplified due to my discovery of Laravel Valet. My Macbook Pro hard drive recently failed, which Apple replaced with a new hard drive. So I decided to do a walkthrough setting up MacOS for WordPress development on a clean copy of MacOS High Sierra (v10.13.2). While there are a number of things to install, Valet makes managing local WordPress installs quite magical. Here is list of the commands used or feel free to jump to my video walkthrough below.