
Have you ever wanted to point an endless amount of domains to a single WordPress website? Maybe you have an idea for a custom application where you want your WordPress users to be able to link their domain for some unique purpose. Like hosting a single page for a business listing or maybe providing a white-labeled subscription service. While I won’t be telling you how to make WordPress do all of the things, today we’ll be tackling the tricky part, adding unlimited SSLs to any WordPress site. Bucket up, this is going to take a deep dive into the depths of WordPress.
SSLs through web hosts are limited and aren’t accessible to WordPress users.
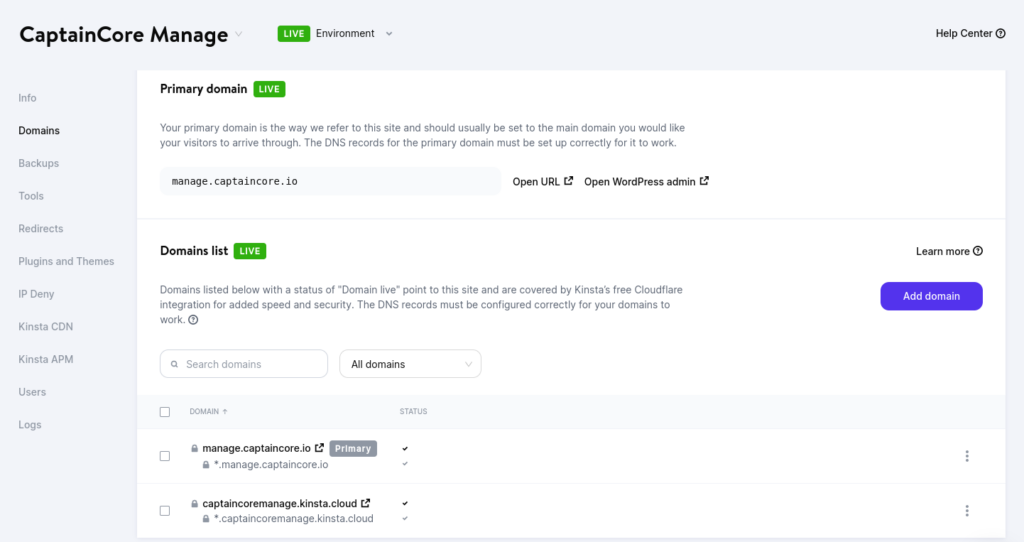
I use Kinsta to host my customer’s WordPress sites. With Kinsta you first need to add domain mappings within Kinsta’s hosting panel then follow their DNS instructions for generating a free SSL certificate. These steps are fairly easy to do however there is no way to make this process self-serving to end users. Only folks with access to the hosting panel can do that.
I was inspired by Fathom Analytics article “How to add unlimited custom domains to Laravel Vapor“. The article wasn’t written for WordPress however the concept is brilliant. The idea is to put Caddy in front of your application and have Caddy handle generating and serving SSLs on the fly. Let’s adapt that for WordPress.
Step 1: Setting up Caddy as a reverse proxy for WordPress.
I have a WordPress website located at https://manage.captaincore.io. It’s a standard WordPress install, with no extra domain mappings and no multisite. What I want to do is allow each logged-in WordPress customer the ability to map a custom domain for a branded administrator login. This will be an experiment as CaptainCore is currently a closed product with only two companies using it, Anchor Hosting and my friend’s company LaunchPress. For my example, let’s attempt to map unique domains of manage.anchor.host and my.launchpress.com to manage.captaincore.io with zero changes to Kinsta.
The following Caddyfile configuration tells Caddy to serve as an on-demand reverse proxy to my WordPress site hosted at Kinsta. This will allow Caddy to generate and serve SSLs for any domain on request. Caddy’s reverse proxy web server can be hosted with any VPS host provider. I’ll be using a $6/month DigitalOcean droplet.
{
     on_demand_tls {
          ask      https://manage.captaincore.io/wp-json/captaincore/v1/domain_check
          interval 2m
          burst    5
     }
}

https:// {
     tls {
          on_demand
     }
     reverse_proxy https://manage.captaincore.io {
          header_up Host {upstream_hostport}
	 }
     log {
          output file /var/log/caddy/access.log
     }
}
Spinning up a Digital Ocean droplet to host the Caddy instance will require a fair amount of sysadmin skills. This guide covers the basics of creating a non-root user and activating a firewall. I’m using the newest Ubuntu 22.04 (LTS) droplet however this tutorial “How To Host a Website with Caddy on Ubuntu 18.04” mixed with the official install commands and running as Linux service is a good starting point for getting Caddy up and running. The reverse proxy will also need some sort of arbitrary name however it really doesn’t matter what it’s called. I’ll call it custom-domains.captaincore.io. Don’t forget about backing up your droplet. Be default Caddy will store and serve generated SSLs on the disk storage.
If you want an easy way, you could use Digital Ocean’s one-click option for Caddy: https://marketplace.digitalocean.com/apps/caddy. One thing I don’t like about this method as it comes loaded with a fairly old version of Ubuntu.

Step 2: WordPress endpoint to authorize domains requests.
Caddy with on-demand SSL creation requires protection from bots. The following code will create a WordPress endpoint /wp-json/captaincore/v1/domain_check. I’d recommend putting this code into a fresh WordPress plugin and adapting the function names to something unique for your project. Will be adding more code to this plugin later on as we walk through the steps. Caddy can use this Rest API endpoint to authorize SSL requests.
add_action( 'rest_api_init', 'captaincore_register_rest_endpoints' );

function captaincore_register_rest_endpoints() {
    register_rest_route(
		'captaincore/v1', '/domain_check/', [
			'methods'       => 'GET',
			'callback'      => 'captaincore_domain_check_func',
			'show_in_index' => false
		]
	);
}

function captaincore_domain_check_func( $request ) {

	$authorized_domains = get_option( "captaincore_authorized_domains" ) ;

	if ( in_array( $request['domain'], $authorized_domains ) ) {
		return "Domain Authorized";
	}

	return new WP_REST_Response(null, 503);

}
Step 3: Add authorized domains to WordPress.
We’ll store the authorized domains into a PHP array as a WordPress option. With WP-CLI’s interactive shell wp shell we can manually supply a list of domains like this:
update_option( "captaincore_authorized_domains", [ "manage.anchor.host", "my.launchpress.com" ] )Step 4: Adjust WordPress URLs if requested from the reverse proxy.
WordPress needs to know what the custom domains will be used in order to respond with proper URLs. Adding the following code to our WordPress plugin will tell WordPress to respond using the authorized domains, if traffic is detected from the reverse proxy.
add_action('wp_loaded', 'captaincore_load_custom_domains');

function captaincore_load_custom_domains() {

	$authorized_domains = get_option("captaincore_authorized_domains");

	if ( ! empty ( $_SERVER['HTTP_X_FORWARDED_HOST'] ) && in_array( $_SERVER['HTTP_X_FORWARDED_HOST'], $authorized_domains ) ) {
		$_SERVER['HTTP_HOST'] = $_SERVER['HTTP_X_FORWARDED_HOST'];
		foreach( $authorized_domains as $key => $domain ) {
			if ( $domain == $_SERVER['HTTP_X_FORWARDED_HOST'] ) {
				define('WP_SITEURL', 'https://' . $_SERVER['HTTP_X_FORWARDED_HOST']);
				define('WP_HOME', 'https://' . $_SERVER['HTTP_X_FORWARDED_HOST']);
			}
		}
		if ( function_exists( "captaincore_custom_domain_template" ) ) {
			return captaincore_custom_domain_template();
		}
  	}

}
Step 5: Workaround fixes for Kinsta’s cache
The reverse proxy currently has a big problem. It completely breaks server caching in the worst possible way. Server caching is handled per domain request. With the reverse proxy, all requests are being translated to the primary domain. That means the first request to a domain will generate a cached response for all future requests. That’s really bad if you want to serve unique content on each domain. Content from the main site would start randomly showing up on other domains.
To work around this issue with Kinsta, we can leverage their wildcard SSL certificate with some clever hacks. In Caddy, instead of sending the upstream_hostport for all requests, we can send whatever we want. In our Caddy configuration change:
header_up Host {upstream_hostport}to the following:
header_up Host {http.request.host.labels.2}{http.request.host.labels.1}{http.request.host.labels.0}.{upstream_hostport}Caddy will now send all requests uniquely to a unique subdomain per each custom domain.
- Requests to
manage.anchor.hostgo tomanageanchorhost.manage.captaincore.io - Requests to
my.launchpress.comgo tomylaunchpress.manage.captaincore.io
These subdomains aren’t important and can be ignored. They’ll only be used to let the web server know it needs to serve unique content for certain custom domain requests. Thus restoring proper server cache per each custom domain.
One limitation of my approach is that any request to a WordPress backend page /wp-admin to a custom domain will be redirected to the primary site. For my use case, that is just fine. I don’t want folks to access the WordPress backend.
Serving unique content per each domain.
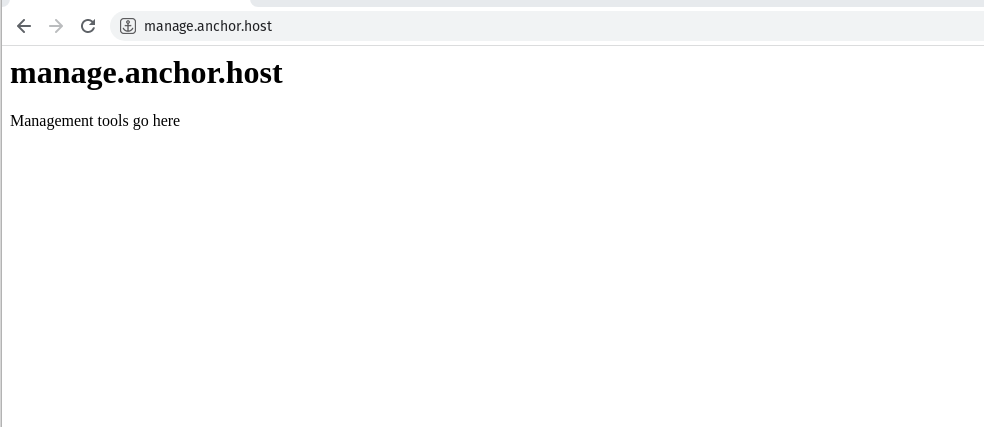
For a quick and dirty example, we could intercept all requests to WordPress and check if it’s being requested from a reverse proxy. If so conditionally load the proper content.
function captaincore_custom_domain_template() {
	$custom_domain = $_SERVER['HTTP_X_FORWARDED_HOST'];
	echo "<html>
	<h1>$custom_domain</h1>
	<p>Management tools go here</p>
</html>";
	exit;
}
A more realistic solution would involve hooking into template_include then adding domain conditional logic into a custom page template.
All of the missing parts.
Up to this point, I just covered the minimal amount to actually make this idea work. To make a complete solution there is adding an interface for WordPress users to add their own domain, updating the authorized domains, displaying instructions to their users to point their domain to reverse proxy public IP, or provider them with the CNAME record, and actually building out what’s displayed on these custom domains. Hopefully, this guide is enough of starting point to get you thinking about what’s really possible with a WordPress backend.
Caddy doesn’t need to store SSLs locally, in fact, it’s probably not recommended to do that. Fathom Analytics’ guide covers using DynamoDB for SSL storage, a load balancer, and configuring highly available servers on AWS. That would be a great option to improve up-time over using a single Digital Ocean droplet for Caddy.
References
- https://laravel-news.com/unlimited-custom-domains-vapor
- https://caddyserver.com/docs/automatic-https#on-demand-tls
- https://headey.net/how-i-implemented-custom-domain-support-with-automatic-tls-certs-for-my-saas-app/
- https://blog.evanolder.com/2020/04/27/fixing-wordpress-tls-issues-behind-caddy-reverse-proxy/