
I’ve been using a Lemur Pro, Linux laptop, faithfully for the last 2 years and have decided to upgrade to a new MacBook Air M2. Linux, specifically Pop! OS, you’ll be missed. There is nothing so liberating as using an operating system that is truly open. I have my eyes on the Asahi Linux project, and Linux on Apple Silicon, however for now I just want to use what works best. That means moving back to macOS once again.
Last year I wrote a guide for Using Caddy for WordPress Local Development on Linux. This will cover the same setup however adapted for the Mac. While many Linux commands just work with macOS, there were a number of differences that required fairly significant changes. The approach is still the same.
Installing the tech stack: Caddy, PHP, MariaDB, WP-CLI, Mailhog, and Adminer.
With macOS, Homebrew is a requirement and typically the first thing I do when I use an Apple computer. This will make installing most of what we will need very easy.
/bin/bash -c "$(curl -fsSL https://raw.githubusercontent.com/Homebrew/install/HEAD/install.sh)"Next, install Caddy and MariaDB. Since this will be a fresh database instance, we’ll assign a secured random root password as well.
brew install caddy
brew install mariadb
brew services start mariadb
$(brew --prefix mariadb)/bin/mysqladmin -u root password RANDOMPASSWORD
I tried using PHP 8.1 however ended up running into too many deprecated notices. So I decided to settle with PHP 8.0 as my default, for now, with an option to run some sites on PHP 7.4.
brew install php@7.4
brew install php@8.0
Running many versions of PHP simultaneously requires some extra handing. We need to change the default listening port per PHP version so that we don’t run into port conflicts. You can read more about this strategy here. Change the following line in /opt/homebrew/etc/php/7.4/php-fpm.d/www.conf and /opt/homebrew/etc/php/8.0/php-fpm.d/www.conf from:
listen = 127.0.0.1:9000To the following:
listen = 127.0.0.1:9074     ; For /opt/homebrew/etc/php/7.4/php-fpm.d/www.conf
listen = 127.0.0.1:9080     ; For /opt/homebrew/etc/php/8.0/php-fpm.d/www.conf
Next, we can start PHP services and set PHP 8.0 as the default.
brew services start php@7.4
brew services start php@8.0
brew link --overwrite --force php@8.0
Mailhog will be used for capturing emails from the local WordPress sites. First, install Golang from https://go.dev/doc/install then install Mailhog and Mailhog’s mhsendmail package.
brew install mailhog
brew services start mailhog
go install github.com/mailhog/mhsendmail@latest
Next, install WP-CLI using the default method.
curl -O https://raw.githubusercontent.com/wp-cli/builds/gh-pages/phar/wp-cli.phar
chmod +x wp-cli.phar
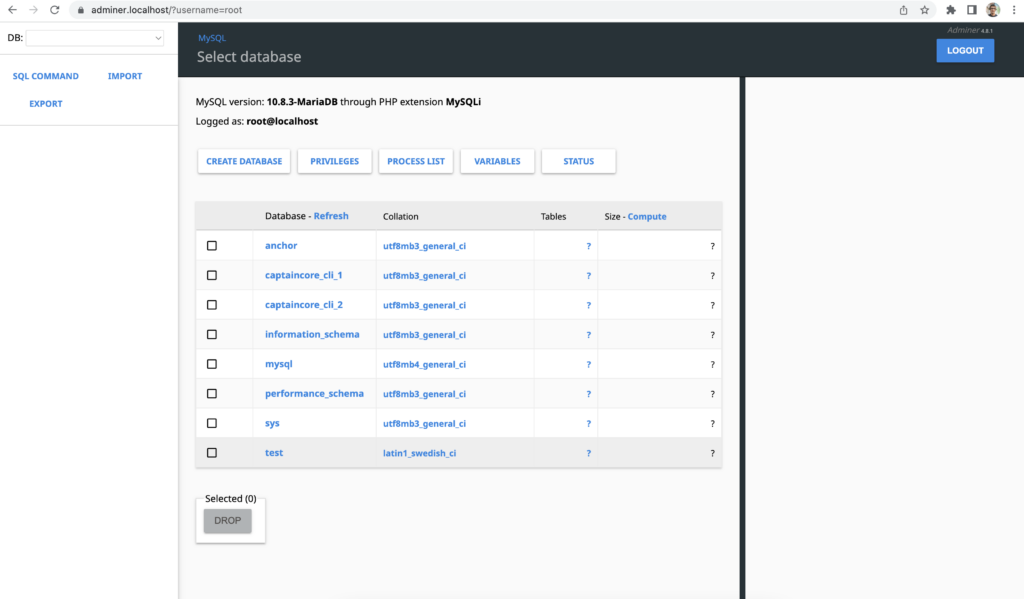
sudo mv wp-cli.phar /usr/local/bin/wpAdminer is a great way to manage local databases. It’s a single file PHP script. The latest PHP file can be downloaded from https://github.com/vrana/adminer/releases. Let’s download that to a new folder for Adminer. We can serve up Adminer using Caddy later on in this guide.
mkdir -p ~/Caddy/adminer.localhost/public/
cd ~/Caddy/adminer.localhost/public/
# Manually download the latest adminer-x.x.x.php file from Github and store here
Configuring Caddy and folder structure for local sites.
For each site let’s create a logs and public directory.
mkdir -p ~/Caddy/anchor.localhost/logs/
mkdir -p ~/Caddy/anchor.localhost/public/
Caddy can be configured using a single file name Caddyfile. Let’s create that here ~/Caddy/Caddyfile. Here is a copy of my Caddyfile which you can use as a starter template. It’s already fairly readable. You’ll need to swap out the website names with your sites and change the folder locations accordingly.
(boilerplate) {
    root * "/Users/austin/Caddy/{host}/public"
    encode gzip
    file_server
    tls internal
    php_fastcgi unix//tmp/php-fpm-{host}.sock
    log {
        output file /Users/austin/Caddy/{args.0}/logs/server.log
    }
}

anchor.localhost {
    import boilerplate anchor.localhost
}

captaincore.localhost {
    import boilerplate captaincore.localhost
}

mailhog.localhost {
	reverse_proxy 0.0.0.0:8025
	tls internal
}

adminer.localhost {
	import site_template adminer.localhost
	php_fastcgi unix//run/php/php-fpm-{host}.sock {
		index adminer-4.8.1-en.php
	}
}
Typically you need to add each hostname to your local HOSTS file /etc/hosts/. That’s not required when using .localhost. That’s a special top-level domain has special which is required to always loopback and is ideal for development-only websites.
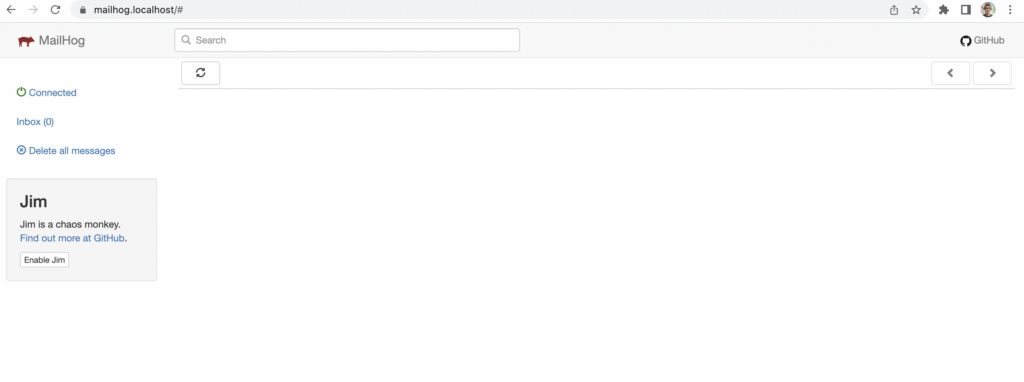
Configuring MailHog
For some reason, I had issues defining the sendmail_path within the PHP configuration for each site. Instead, we can add the following to the bottom of each PHP configuration file for /opt/homebrew/etc/php/7.4/php.ini and /opt/homebrew/etc/php/8.0/php.ini. This will route all emails to MailHog preventing any real emails from being sent.
sendmail_path = "/Users/austin/Documents/go/bin/mhsendmail"Configuring PHP pool per site
We’ll be creating a separate PHP pool per site which is explained more in-depth in this article. Create a php.conf file and save it at the top level of each site, for example: ~/Caddy/sitename1/. This will determine which version of PHP it will use and allow for other custom PHP configurations. You’ll need to change the site listen and php_admin_value[error_log] variables with appropriate values for your setup.
[anchor]
listen = /tmp/php-fpm-anchor.localhost.sock
pm = dynamic
pm.max_children = 5
pm.start_servers = 2
pm.min_spare_servers = 1
pm.max_spare_servers = 3
chdir = /
php_admin_value[error_log] = /Users/austin/Caddy/anchor.localhost/logs/php.log
php_admin_value[memory_limit] = 512M
Next link this file to PHP’s pool.d directory which will set up a custom PHP pool for just this site. Depending where this file is linked will determine which version of PHP is used.
sudo ln -s ~/Caddy/anchor.localhost/php.conf /opt/homebrew/etc/php/8.0/php-fpm.d/anchor.localhost.confLast we’ll need to restart PHP in order to have PHP pick up the new PHP pool configurations.
brew services restart php@7.4
brew services restart php@8.0
Repeat these steps for each site. For different versions of PHP simply swap out references in the conf file and be sure to link it to the correct location. Also, don’t forget to update the Caddyfile php_fastcgi to the new socket location. Got all of that?
# Swap out https://anchor.locahost PHP 8.0 with PHP 7.4

rm /opt/homebrew/etc/php/8.0/php-fpm.d/anchor.localhost.conf
sudo ln -s ~/Caddy/anchor.localhost/php.conf /opt/homebrew/etc/php/7.4/php-fpm.d/anchor.localhost.conf
brew services restart php@7.4
brew services restart php@8.0
Spinning up Caddy.
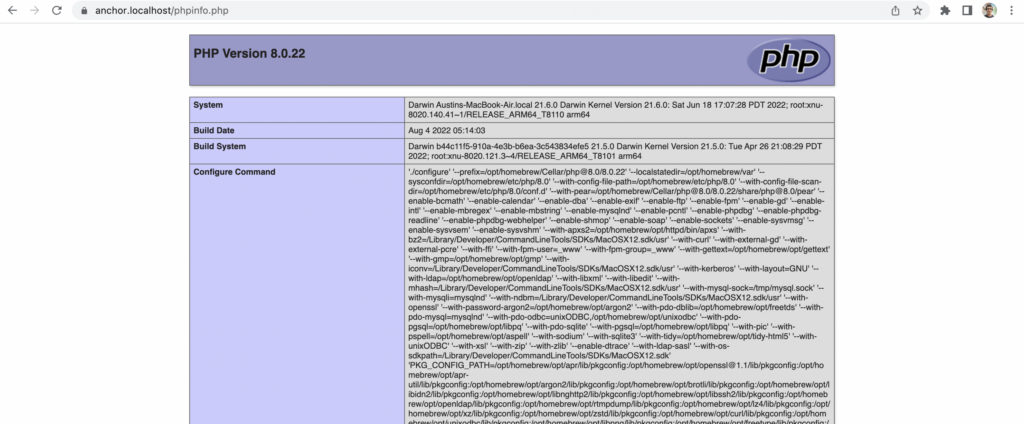
Let’s check to make sure we can spin up Caddy and verify PHP is working. Create a phpinfo.php file within one of the sites with <?php phpinfo(); then run Caddy.
cd ~/Caddy
sudo caddy start
Assuming all went well, we should now have the following sites up and running.
If you get stuck with 500 errors then I’d suggest resetting Homebrew’s file permissions back to it’s default. Homebrew intends to be run from a user account, not root. Started PHP with sudo brew services will cause problems. The root account will takeover various Homebrew folders. This will resolve that.
sudo chown -R $(whoami) $(brew --prefix)/*Final thoughts.
Doing everything from scratch is not for everyone. However, it’s a great way to learn about how web servers work and have complete control over the entire stack. There are no limitations. If I want to try out an experimental version of PHP, I don’t have to wait for a new release to my local development application. I can just install it and start using it right away. Similarly, if I run into a bug, I don’t have to create a support ticket and wait for someone else to fix it, I can fix the issue myself.
I think there is plenty of room in the WordPress local development for even more options. I would love to see a polished solution built around Caddy with additional features like public link sharing and proper GUI or CLI to manage sites. If anyone out there builds that, let me know, and feel free to use this guide as a rough starting point.